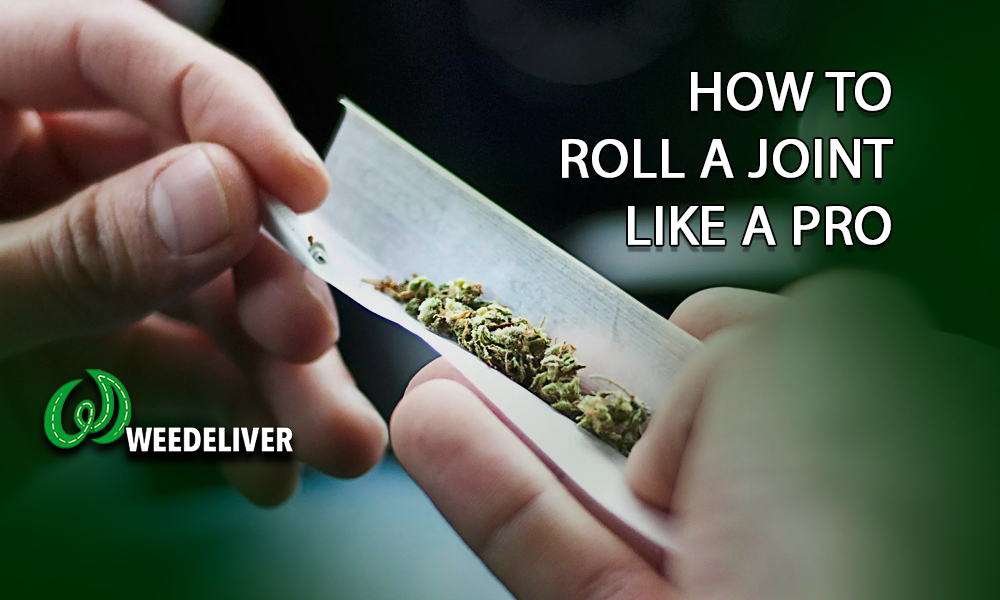
HOW TO ROLL A JOINT LIKE A PRO
Eight Steps to Rolling the Perfect Joint Gather Everything You Need. Before we begin, gather all the joint-rolling supplies you'll need. ... Grind or Break Up the Flower. ... Add a Crutch or Filter. ... Arrange the Ground Bud. ... Roll the Paper. ... Tuck, Lick, and Seal. ... Fill in the Tip and Pack It. ... Seal the Tip and Enjoy.
If you’re new to the world of cannabis and watch a veteran cannabis smoker roll a joint in about four seconds flat, you may be intimidated. Don’t worry. Even that pro has rolled some sorry-looking joints in their day.
You can’t roll a joint without some flowers, so you've come to the right site! Visit Weedeliver.cc and Enter your city or your zip code location so you can discover local dispensaries in your area.
We carry a wide selection of vendors serving flowers, concentrates, and edibles.
EIGHT STEPS TO ROLLING THE PERFECT JOINT
Learning how to roll a joint takes practice. You may have heard of numerous methods, such as the dollar bill method or the cross-joint method, but we’ve created a list of simple steps below to roll perfect, straight, well-packed joints in no time.
1. GATHER EVERYTHING YOU NEED
Before we begin, gather all the joint-rolling supplies you’ll need. These include:
- Rolling papers: To roll a joint the size of a typical cigarette, go with regular 1 ¼-inch papers. You may go with a longer paper if you smoke with others or have a moderate to high tolerance. We recommend hemp paper for a cleaner taste.
- Cannabis flower: For a 1 ¼-inch paper, you will use about a half gram of bud. You can add more as you get better at rolling or filling a longer paper.
- Packer of some kind: You’ll need something to pack the weed down. Anything long and skinny will do, like a pen or pencil.
- Grinder (optional): Break up the weed beforehand to ensure an even burn. A grinder makes this fast and easy and gives a consistent texture.
- Crutch or filter (optional): A crutch lends stability to the smoking end of the joint. These can be purchased or homemade. You may also use a filter instead.
2. GRIND OR BREAK UP THE FLOWER
If you’re wondering how to roll a joint that smokes well all the way through, you use “shake,” which is a ground-up bud.
Use your grinder to break down the flower into an even texture. If you don’t have a grinder, use your fingers to crush it, or use scissors.
3. ADD A CRUTCH OR FILTER
If you don’t have filters or a preformed crutch, you can make one using thick paper, like business cards. Your rolling papers may even come with little strips of thick paper that you can use to make a crutch. Simply fold this strip accordion-style and then roll it into shape.
Once you have your crutch or filter, place it in the middle of the paper on one end. This will act as a stopper for you while you fill the paper and will help you shape the joint.
4. ARRANGE THE GROUND BUD
Holding the paper in a U shape with the glue edge facing up, arrange the shake along the center of the paper, moving out from the crutch. Try to arrange the bud as evenly as possible to ensure an even burn and prevent bulges.
5. ROLL THE PAPER
First, pinch the paper in your fingers and roll it around the bud to get it into shape. Then, holding the paper taut, roll and tuck the paper around the crutch, using a tiny lick to glue the paper down in that spot. Don’t soak it, or you risk licking off the adhesive entirely, in which case it won’t stick, and you’ll need to start over.
6. TUCK, LICK, AND SEAL
Using the glued end as a guide, roll the rest of the paper into place, and lick and seal it.
The trick of how to roll a joint is patience and repetition for steps five and six. You won’t get a perfect joint on your first try. If the paper creases during the initial tuck, give a light tug on the end to pull it out.
7. FILL IN THE TIP AND PACK IT
You will probably have some extra room at the tip of your joint. Use your fingers and packer to fill it in with leftover flowers. You might also pack the weed down by tapping the crutch end on a flat surface.
8. SEAL THE TIP AND ENJOY
Sealing the joint just takes a slight twist of the end, and voila! It’s time to smoke and enjoy. Now that you know how to roll a joint, you’ll be a pro before you know it.


post a commment